Brake pads, front, replacement instructions on a 1998 S70 Volvo, also 850

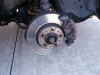
Whenever you take a wheel off it's a good ideal to glance and see how
much brake pad you have left. You can use a small ruler to check the
material left on the pad. The new set of pads that I purchased had about
1/2 inch of pad material. My car had about 1/8 inch of pad
material on it so I decided to replace them since I was doing so much
other work on the car. I
would suggest replacing them between 1/16 and 1/8 inch of thickness of
material left on the pad. You may also consider replacing the rotor if
you have a noticeable inset / grove on them. You can actually measure
the pad material with a small ruler, measure from the rotor surface to
the metal part of the pad.

Front brake pad replacement is not hard. It can be done in 1.5 hours (45 minutes each wheel).
You may also want to take this opportunity to bleed the brake caliper or replace the fluid in the system all together.
Even though these instructions are for a 1998 S70 GLT, I have found these same style pads on many Volvo's.
Tools Needed:
| Jack | Lug nut wrench |
| Jack stand | Ratchet wrench, 3/8" |
| 15 mm Socket, 3/8" | Pliers |
| Pry bar or large flat tip screw driver | Brake pads (I used the PBR pads) |
| Multi-purpose grease | Anti-seize compound |
| Wire brush | Face mask for dust |
| C-clamp, 4 inch | Torque wrench |
Instructions: Read each step in it's entirety before doing the procedure. It will help you avoid breaking parts, harming yourself, etc.
NOTE: I'm not sure if it is an issue anymore but some brake pads use to have asbestos in them. Regardless if that is the case anymore, you really do not want to breath in the dust when you are taking the pads out.
- Park the car on a smooth flat surface.
- Set the parking brake.
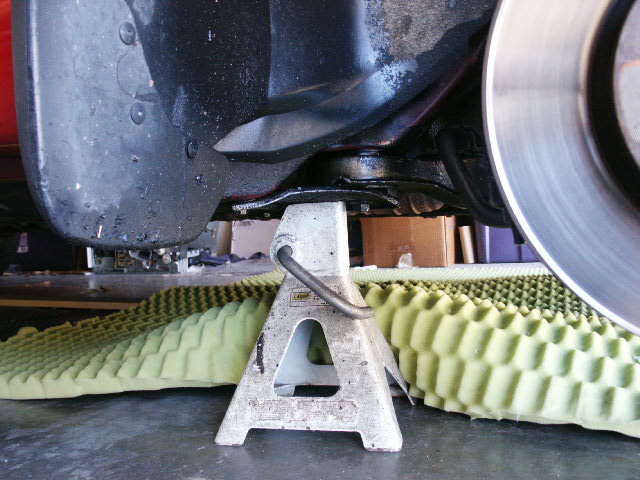
- Jack the car.
- Install a jack stand to support the car.

- Remove the tire.

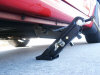
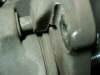
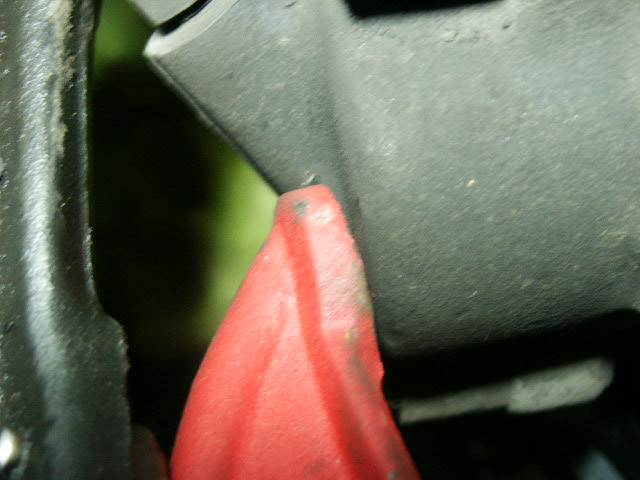
NOTE: When doing the passenger side of the car, this is a good time to inspect the right side motor mount. You can peek through the splash guard or remove the bolt to it and look at the mount. They fail a lot. Photo is of a bad mount. Notice the lower bolt resting on the rubber mount.


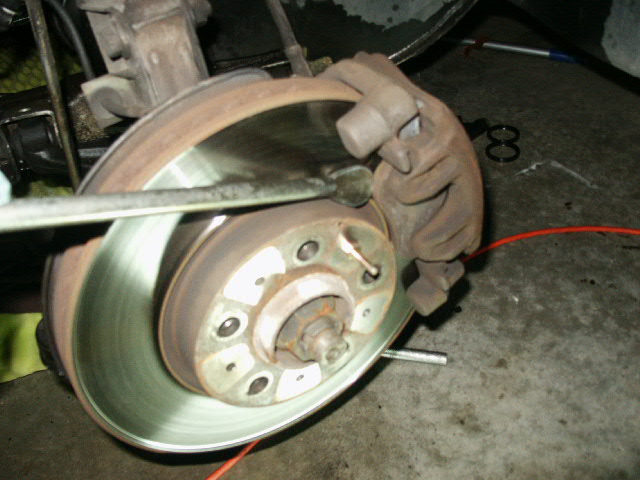
- Remove the brake pad retaining clips/spring.


- Pry pressure off the pad with the bar or large screw driver.

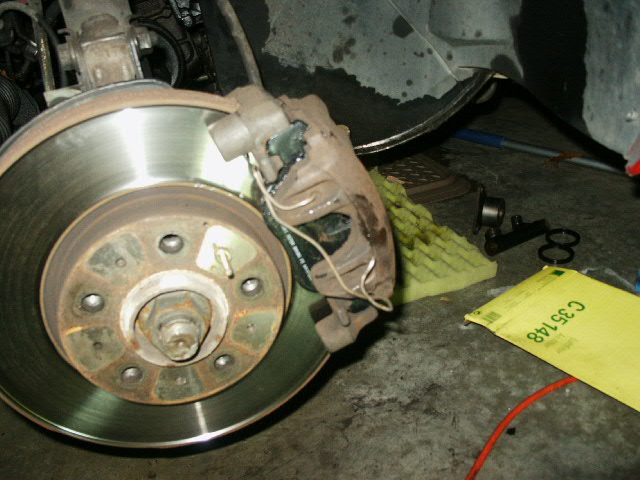
- Remove the 2 x 15 mm caliper bolts.

NOTE: Get something to support the caliper when you pull it away from the rotor. I used a small box. The caliper will pull on the brake line, you don't want to damage the brake line. - Swing the caliper away from the rotor.

- Remove the otter pad. You will have to slide it towards the inner pad.
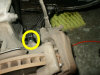
- Inspect the caliper piston to make sure the dust boot is in place and secure. Mine was NOT. Not sure how to get it seated if is not, but try.
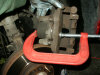
- Compress the caliper piston with the c-clamp. I did it with the
inner pad in place and I made sure I had the other side of the clamp
on a flat spot on the caliper.

- Replace the inner pad and install the outer pad. I put general
purpose grease on all the brake pad contact points, where they mate
and rest on the caliper (not the pad surface).
It helps reduce squeal.

- Swing the caliper into place. If you do not have the caliper piston compressed in all the way, it will be hard getting the caliper over the rotor.
- Install the 2 caliper bolts with anti-seize compound. Torque
them to 75 ft. lbs.

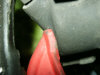
- Install the retainer spring. As you can see from the picture, I
did the top end first, then the lower end. I used a needle nose
pliers to work the spring into place.

- Clean off the wheel hub with a wire brush. You may want to put
some general purpose grease or anti-seize compound where the wheel
mates to the end of the rotor/axel.

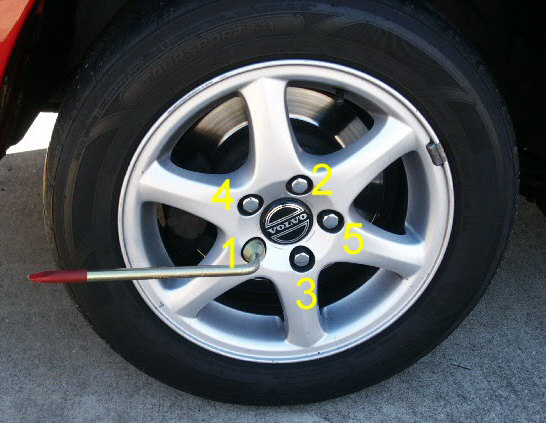
- Install the wheel and install the lug nuts. When installing
wheels, it is best to snug the bolts down when the car is up on the
jack, lower the car a little so that there is some weight on the
wheel (not totally down). Then tighten the bolts in a star pattern
before lowering the car to the ground. I was tough that you torque
the bolts in a star pattern to reduce the chance of warping your
rotors.

NOTE: It is good to use anti-seize compound on the threads of the lug nuts and the part of the nut that mates with the wheel. I have actually see these bolts stuck on a wheel because they did NOT use the compound. - Lower the car to the ground.


Please leave a tip, see the bottom of this page.
End of instructions.