Front Seat Removal - Volvo 960 - S90
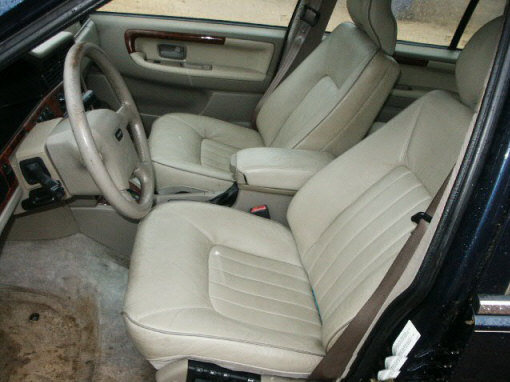
I have owned several 960 - S90's. Every one of them have had problems with the power seats moving properly. The problem is with the cables. For instructions on how to repair the cables click here. If you need to remove the seat to fix a cable or some other reason, follow the instructions below.
Tools Needed:
| Torque Bit Driver | Torque Bit, T-25 |
| Ratchet Wrench | 3/8" Sockets 14 mm |
| Flat Tip Screw Driver |
Instructions:
- Turn the ignition on the first position (accessory) so you can operate the seat. (Some models will allow the drivers seat to operate with the key off).
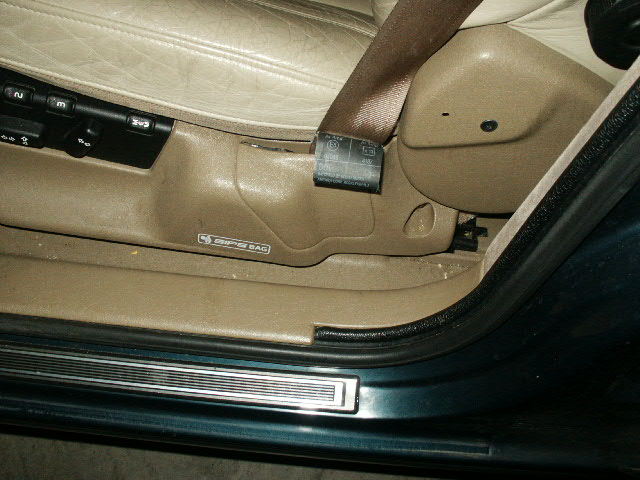
- At the base of the seat belt, where it goes into the side of the
seat, pull up on the cover to remove the cover from the side of the
seat.

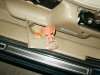
- When you get the cover off, you will notice the Air Bag safety
clip in the cover. Take it off the cover and install it on the side
of the seat to reduce the chance of deploying the seat air bag.
- Raise the seat as high as it will go.
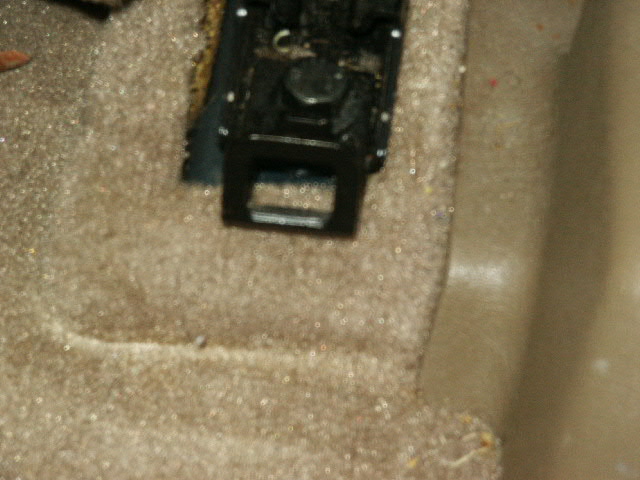
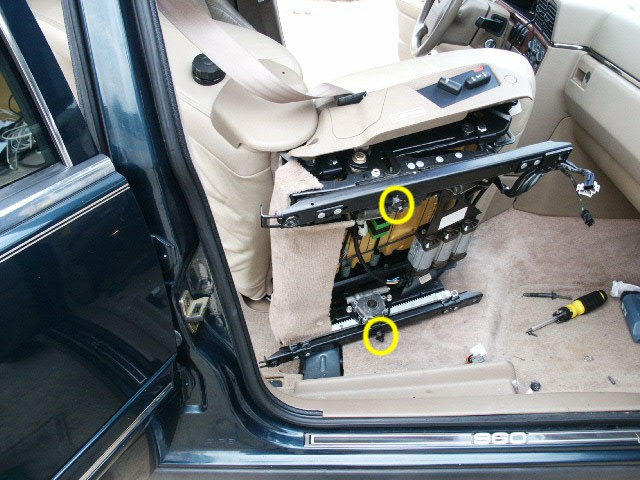
- Reach under the seat and put inward pressure on the middle cable, pushing it in on the passenger side of the seat and operate the seat to get it to travel back as far as it will go. It may take a few tries but it will work.
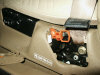
- Remove the otter track cover, T-25.
- Remove the front seat track bolts, 2 x 14 mm.
- Move the seat forward and aft and try to get it straight and not twisted. You will probably have to reach under the seat and hold the cable in place to get it to move.
- Once you believe that it is straight, move it to the most forward position.
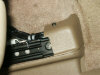
- Remove the covers from the 2 rear seat anchor bolts. You a screw driver and pry up on the covers then lift them out of the way.
- Remove the 2 rear seat anchor bolts.

- Once you have all 4 seat anchor bolts removed, sit in the back
seat and work the seat back about 1 to 2 inches and rock it out of
the floor. The bottom of the tracks have anchors that slot into the
floor and you have to pull the seat back a little then lift or tilt
them out of the floor.
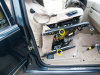
- Once the seat is loose from the floor, recline the seat so that
you can tilt it sideways to work on it with it still in the car.
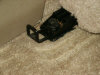
NOTE: The seats are very heavy and big. It is easier to work on them with them in the car than it is to totally remove them. If you decide to remove them you will need to remove the seat belt bolt. - Go to the front of the seat and unplug the wires that are
connected under the carpet, x2.

- Lift the seat and set it on it's side so you work under it.
- Turn off the ignition.


Please leave a tip, see the bottom of this page.
End of instructions.