Shift lock repair instructions for a Volvo 960
From what I have learned, this is a common problem with the 960's and S90's. I started the car and the shifter would not release to allow me to move the shifter out of park. There is a little micro switch in the shifter area that goes bad and stops the shifter handle button from working properly. I had to press the shift lock release button to get the car out of park until I got around to fixing the problem. These instructions will show you how to replace the micro switch, jump the micro switch, or bypass the system with a shim. Rumor has it that when you bypass the micro switch (jump the wires that go to the switch), you have the pleasure of hearing a click sound every time you press on the brake. The method I used (installing a shim) does not seem to have a down side. I guess the best thing to do is replace the micro switch. Your call, I used a shim for now. Took me about 1-1/2 hours.
Tools Needed:
| Micro switch (between $29 and $44.11) | Small piece of wood to make a shim |
| Small putty knife | Flat tip screw driver |
| Torque bit screw driver | Torque bits, T-20 & T-25 |
| Solider iron (to replace micro switch) |
Instructions:
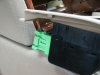
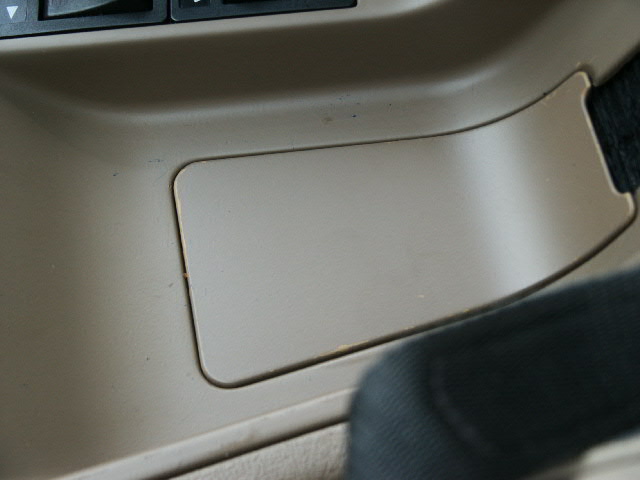
- Pull up the hand/parking brake handle and remove the small panel
in the center console. Pull up on the back end of it and it will pop
out.

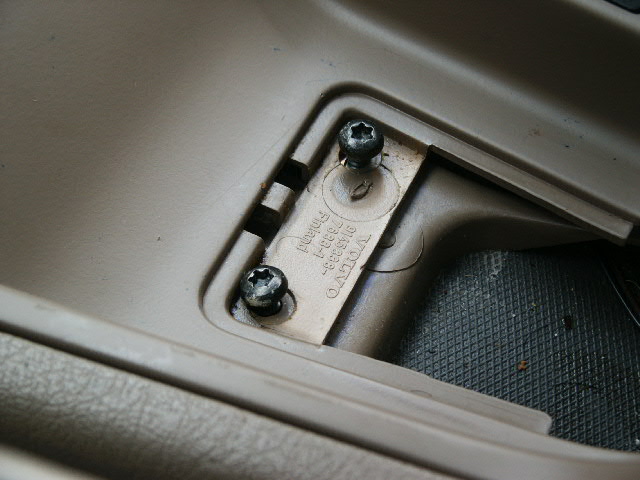
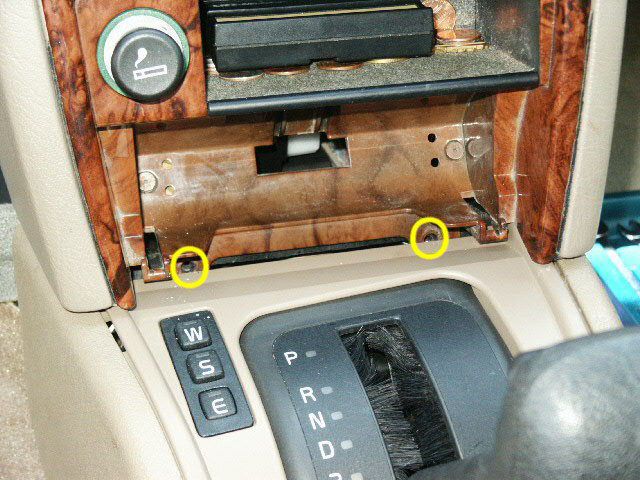
- Remove the 2 screws under that panel (T-20).

- Remove the ash tray. Open it and press down on the center clip to remove it.
- Remove the 2 screws under the ash tray (T-20).

- Pry the back of the center console panel from under the arm rest latch. You can use the putty knife or a flat tip screw driver.
- Once the back of the center console is loose, work it free from the rest of the center console housing that will not be removed.
- Un-plug the transmission selector switch.
- Un-plug the light connector for the seat heaters and un-plug
both seat heater switches.

- Un-latch the OBD-II port from the panel. If you look under the
post you will see a little edge of the port hanging from the panel,
lift on this edge a little and slide the port free (forward).

- Once the panel is free, set it aside. This is a good time to clean the panel real good with some 409 or something.
- Remove the shifter knob. It simply pulls up, you may have to
pull hard.

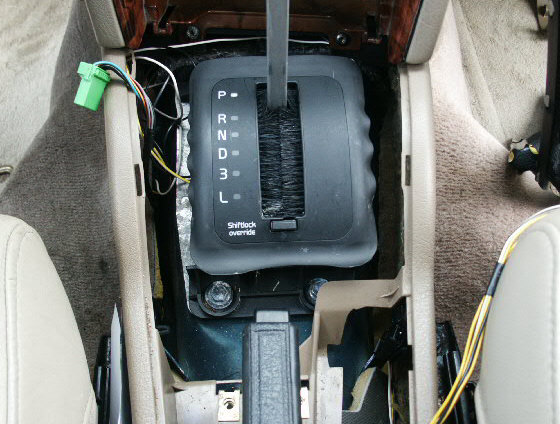
- Once the knob is removed, remove the shifter plate that has the
gear indicator on it. It lifts off from the back, then the front
will work loose. Be careful not to break it.

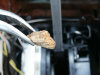
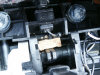
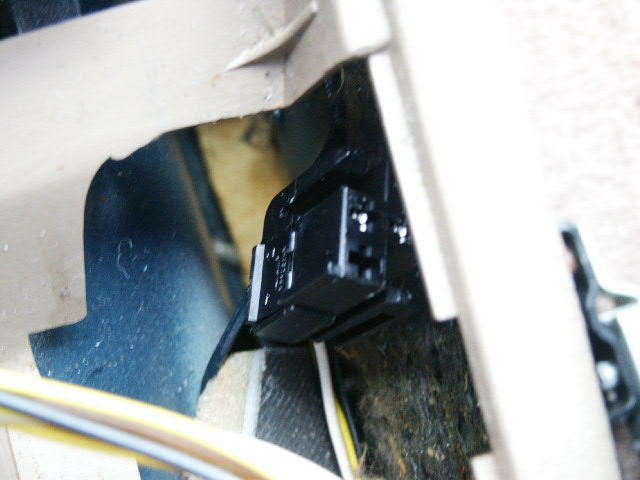
NOTE: You can now see all the stuff that makes that shift lock thing work. The cable is there to allow the key to be removed from the ignition when the shifter is in park. The micro switch is on the passenger side. I released the cable and installed a shim. I tested my micro switch by turning my car on, and using the flat tip screw driver to jump the connection. When I jumped the wire connection points the shifter worked.

A) To replace the micro switch, go to step 13.
B) To bypass the micro switch and jump the wires, go to step 23.
C) To install a wood shim, go to step 27.
- If you are going to replace the micro switch make sure the car is off and the key is out of the ignition. You may want to remove the negative battery cable (doing so will require the radio code to get the radio back on).
- Note which wires are connected to the micro switch (fore and aft). Cut the wires that are connected to the micro switch as close to the switch as possible.
- Set the parking brake.
- Shift the car into D or L. You may have to use the shift lock release button.
- With a flat tip screw driver, remove the retaining washer that
holds the micro switch in place.

- Slide the micro switch from the shifter area.
- Install the new micro switch. Make sure your retaining washer is still in good enough shape to hold the switch in place for years to come.
- Strip a little bit of the wire ends and solider the wires on to the new micro switch.
- Shift the car into park.
- Hook up the battery, turn the car on and make sure it works
properly.
NOTE: Go step 12 and reverse the removal order to put the car back together. - If you are going to cut and splice the micro switch wires together, it may be a good idea to make sure the car is turned off and the key is removed from the ignition. You may also want to disconnect the negative battery cable (doing so will require the radio code to get the radio working again once you reconnect the battery).
- Find the wires that connect to the micro switch, in my car they
came from the drivers side of the center console and went to the
switch.

- Cut the wires and splice them together.
- Turn the car on and test the system to make sure it works the
way you want it to.
NOTE: Go to step 12 and reverse the removal order to put the car back together. - To install a shim like I did, put the car in park.
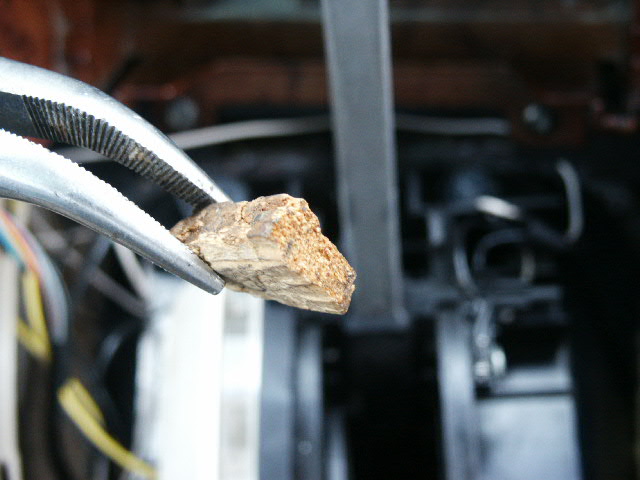
- Get the small piece of wood or whatever you plan to use and cut
it to fit in the space under the cable.

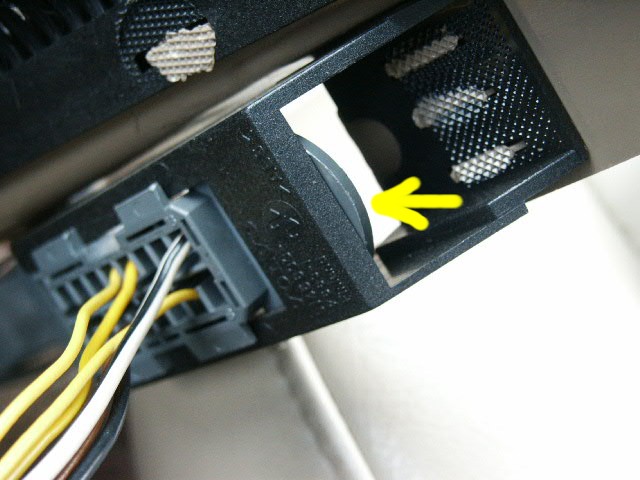
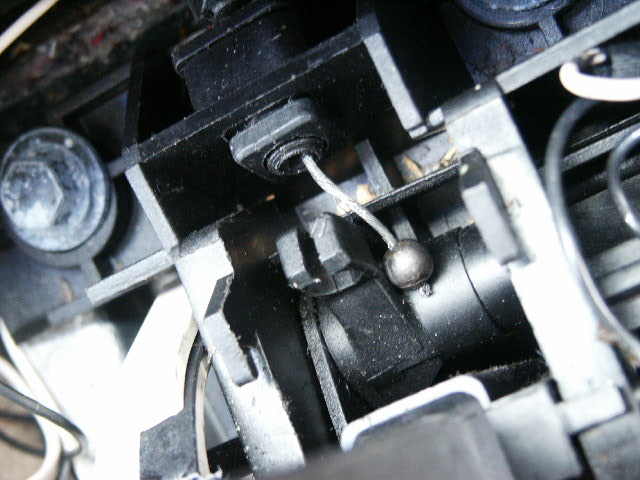
- Release the cable from the shift lock assembly.

- Install the shim between the shift lock release and the frame
area.

- Try to shift the car out of park.
- Insert the key into the ignition and make sure you can start the
car, shift the gears, turn the car off, and remove the key from the
ignition.
NOTE: Once you are satisfied with the way things work, go to step 12 and reverse the removal order to put the car back together.


End of instructions.