Shifter assembly replacement instructions for a Volvo 960
I don't know what could cause it but some people have found their shifter assembly broken. The one I learned about had the tip of the shifter broken so the knob would not work properly. I pulled one from a car at the junk yard. There was 12 cars there and half of the shifter assemblies were missing. The job should take about 2 hours. The procedures are a little different for the S90's. They have a different center console which has the shifter selector attached to the console piece. Therefore you will skip steps 5 through 7 below.
Tools Needed:
| Micro switch (between $29 and $44.11) | 11 mm Open end box wrench |
| 10 mm Socket | Ratchet wrench |
| Ratchet wrench extension | Needle nose pliers |
| Small putty knife | Flat tip screw driver |
| Torque bit screw driver | Torque bits, T-20 & T-25 |
| Small wire splicer for 2 wires | Wire cutters |
Instructions:
- Drive the car up on ramps to get under it.
- Go under the car and go to the drivers side of the transmission.
You will see where the shifter connects to the side of the
transmission stuff. Remove the clip and pull the plastic gearing out
to disconnect the shifter assembly. You can use needle nose pliers
but I was able to do it with my fingers.
- Go into the car and pull up the hand/parking brake handle.
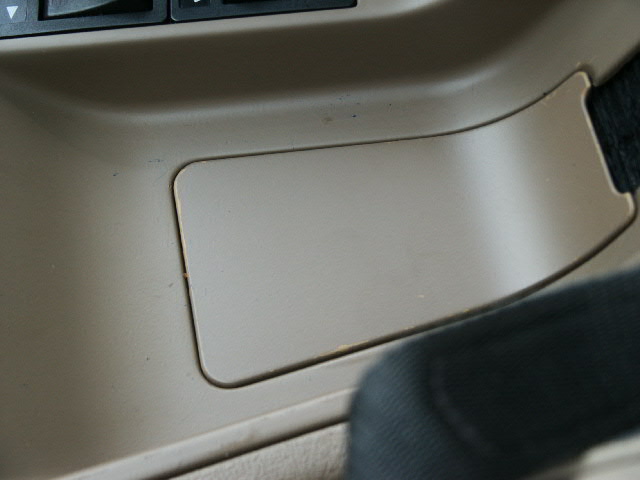
- Remove the ash tray. Open it and press down on the center clip to remove it.
- Remove the small panel
in the center console. Pull up on the back end of it and it will pop
out. (960 only)

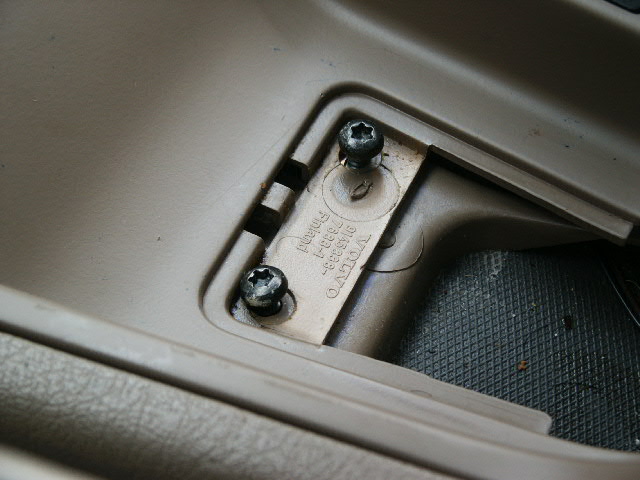
- Remove the 2 screws under that panel (T-20).
(960 only)

- Pry the back of the center console panel from under the arm rest latch. You can use the putty knife or a flat tip screw driver. (960 only)
- Open the armrest and take everything out of it.
- Remove the small panel in the bottom of the armrest with a flat tip screw driver.
- Remove the 2 screws under the armrest, this will loosen the entire center console assembly.
- Pull the bottom edge of the panels that attach to the bottom side of the dash, the edge that meets the center console panel. Once you pull the lower edge loose, you will see a screw that secures the forward edge of the center console. Remove the screw on both sides of the center console.
- Remove the shifter knob if it is still installed. It simply pulls
off (up), you may have to
pull hard.

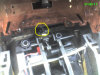
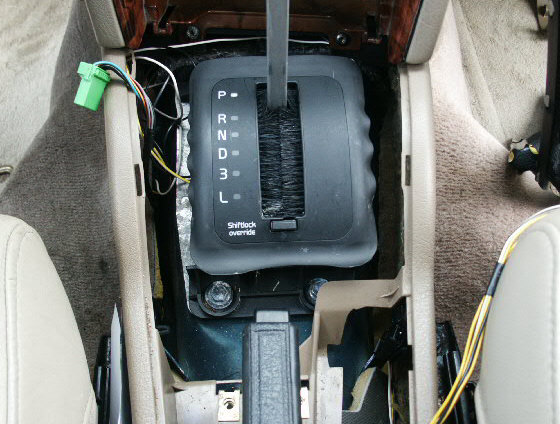
- Remove/slide back the center console.
On the 960 work the center console piece up and back away from shifter. You will need to unplug the shifter selector buttons.
On the S90, work the entire center console back away from the shifter, and unplug the shifter selector buttons.
- Remove the 2 screws under the ash tray (T-20).
Warning: DO NOT drop these 2 screws, you may never see them again.

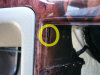
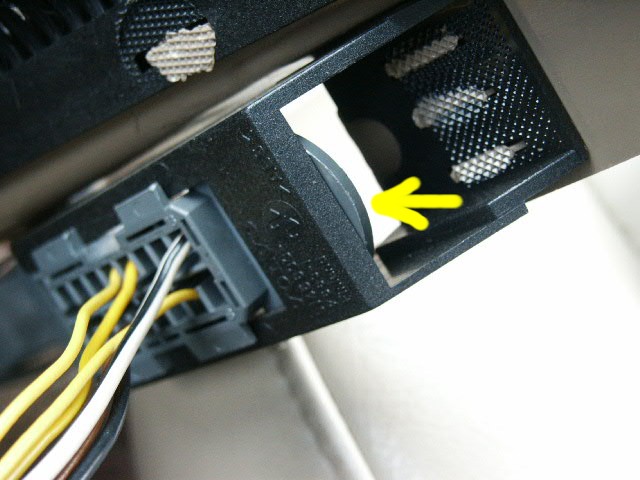
- Un-plug the light connector for the seat heaters and un-plug
both seat heater switches.
NOTE: This is optional, you may be able to remove the shifter with the console piece pulled back or pushed aside.

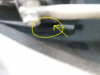
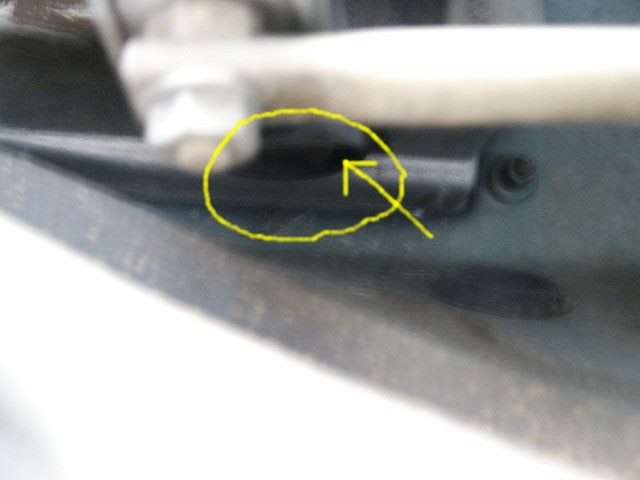
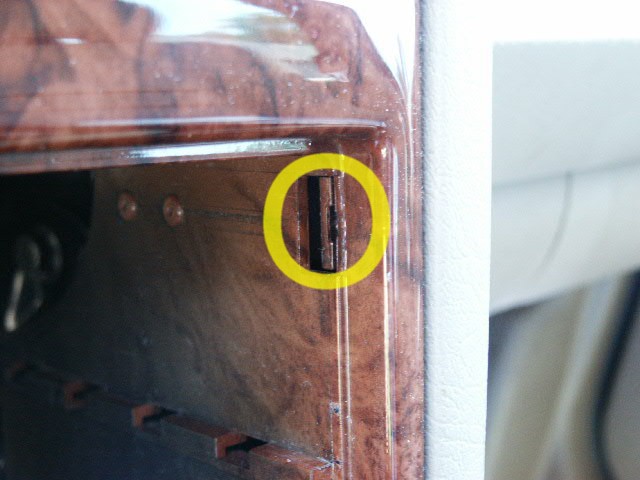
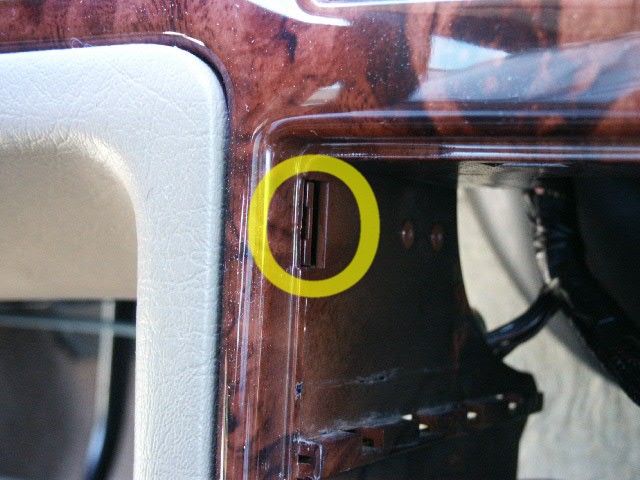
- Un-latch the OBD-II port from the panel. If you look under the
post you will see a little edge of the port hanging from the panel,
lift on this edge a little and slide the port free (forward).
NOTE: This might be optional, you may be able to remove the shifter with the console piece pulled back or pushed aside.

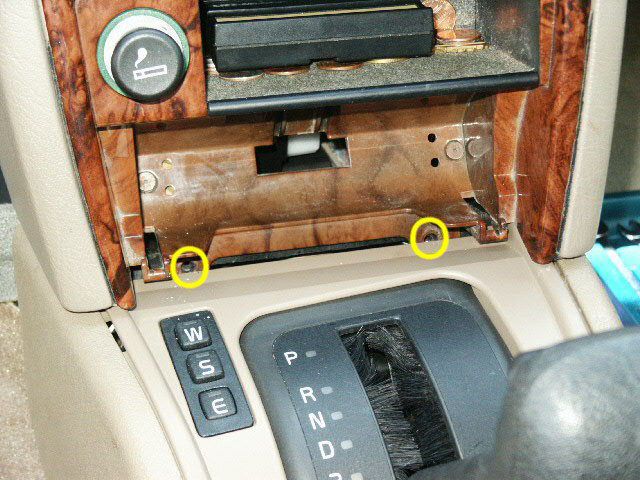
- Once the panel is free, set it aside. This is a good time to clean the panel real good with some 409 or something.
- I found it necessary to move the center dash wood panel out of
the way to get the shifter to clear the floor frame. Therefore it
was necessary to remove the radio from the dash. I did NOT have to
unplug it, but it is your call, I had enough slack to set the radio
on the seat. Release the latches on the radio and pull the radio from the dash.
NOTE: If you unplug the radio wires, you will need to enter the radio code once you re-install it. - Reach your hand into the hole where the radio was removed and
put a little pulling pressure on the dash area. While this pulling
pressure is on the panel, release the dash clips with the flat tip
screw driver on both sides of the radio slot (pry the clips towards
the center of the hole). This will allow the wood grain dash area to
pull away from the rest of the dash.

- Carefully pull the wood grain dash area away for the rest of the dash. Try not to twist the panel to much because it will crack the plastic wood grain (I've done it, it sucks). Pull that panel away a little but it is not necessary to totally remove it. It has all the right side buttons connected to it, just pull it away a little.
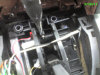
- On the 960, remove the shifter plate that has the
gear indicator on it. It lifts off from the back, then the front
will work loose. Be careful not to break it.

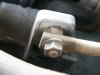
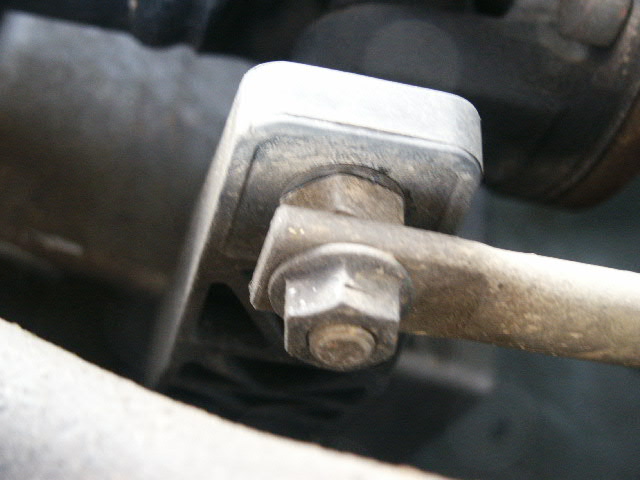
- Loosen the cable on the front of the shifter assembly. With the
11 mm open end wrench or needle nose pliers, turn the cable counter
clockwise so the cable gets more slack. Once you have enough slack,
take the cable loose from the bracket.
- Once you have the cable loose from the bracket, turn the cable nut clockwise to remove it from the shifter assembly.
- Remove the 4 bolts that hold down the shifter assembly, 10 mm socket.
- Set the parking brake if it is not already set.
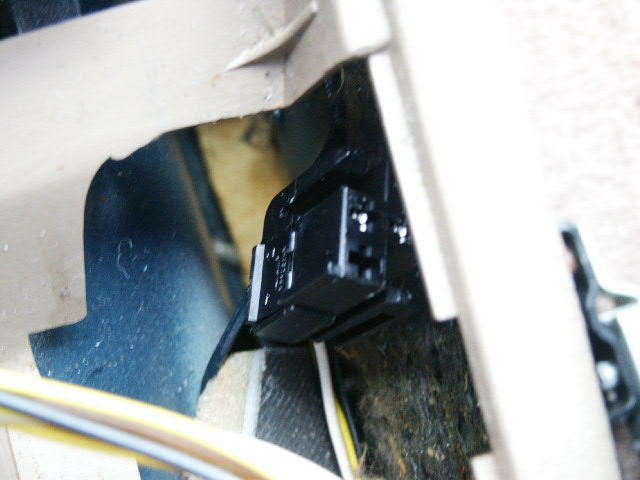
- Remove any wires that are connected to the shifter assembly. Pay close attention to the micro switch on the right side of the shifter. You may have to cut those wires and splice them back together. If that is the case, you will need to remove that switch from the old shifter assembly and attach it to the new one.
- Lift the shifter from the floor of the car.
- Reverse the steps to install the new shifter assembly.


End of instructions.